

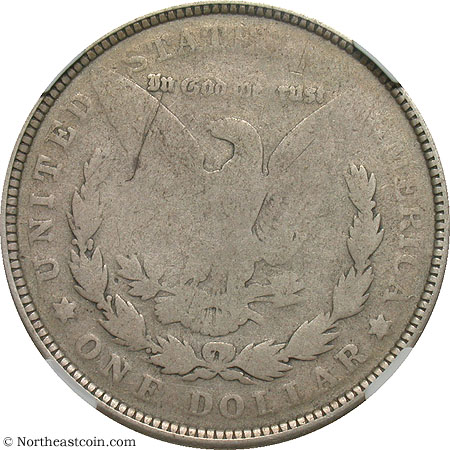
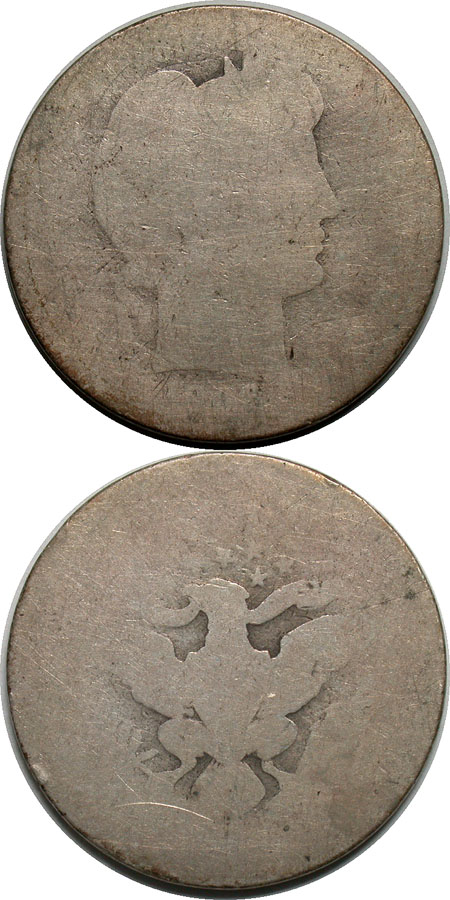
What is the grade of this coin? First correct guess wins a prize. Email your guess to info@northeastcoin.com. Winner gets a Northeast goody box.
There were no correct guesses for this question. It's actually a trick question. The coin is technically ungradeable. It was likely struck through grease, thus the lack of detail on the surfaces but full denticles around the edge. It's not a problem-coin but rather a mint error.
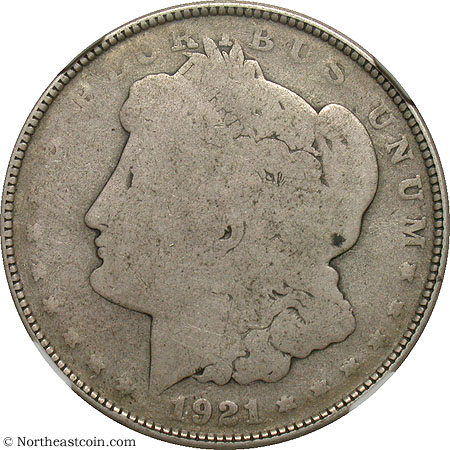
I would say Good/About Good - a friend of mine who does not collect said - the coins that are worn have seen more circulation and more history they should be more valuable and have a higher price.
The answer has been posted above.
Do any of the blue numbers on the GSA card mean anything? First correct answer to info@northeastcoin.com wins a Barber Quarter in POOR 1 condition! Great addition to a Dansco 7070 low ball set. We now have a winner for this question.

The following was written by Chris.
Tom, Margie, and I attended the Long Beach Expo last week. First my comments on the business aspect of the show:
I was busy non-stop on Wednesday from pre-show trading in the morning to the close of the show that evening. Tom and I were primarily focused on buying while Margie was busy trying to show coins. Thursday was also busy for me although it slowed down significantly on Friday. Overall I was pleased with the purchases I was able to make.
Sales were a little disappointing. It can sometimes be challenging to get dealers to look at inventory. You either have to catch them at the right time or try to schedule an appointment. Combine that with the fact that there were fewer dealers than we normally see at shows, and the result is below average sales. (At least from a revenue perspective; we did get together with a wholesale dealer the last day of the show and sold two double row boxes, so we are pleased with the total number of coins that moved.)
For the most part, prices seem to be remaining level and I expect that to continue through the summer. We’ll see what the fall brings us. Some upticks would certainly be nice.
Now a few personal comments about the show and my time in Long Beach:
First, crime does not pay! Some time ago a dealer we know was burglarized. A list of the stolen merchandise was circulated to other dealers. Then, at the show last week, a public attendee offered a dealer some coins for sale that the dealer recognized from the list of stolen items. He confronted the guy about it and the guy promptly started making his way towards the exit. The dealer quickly followed and got the attention of the security staff. When they started questioning the individual about the coins he tried to bolt through the exit. Just as he was near the exit door he was tackled by security. (For those that watch football, it looked like a linebacker cleaning the clock of a running back.) The thief and his accomplice, who shortly thereafter tried to leave the show with a backpack full of stolen coins, were arrested. Kudos to the dealer for recognizing the stolen coins and kudos to security for apprehending the bad guys.
For those that are interested, here’s a link to the video clip from a security camera at one of the tables: http://i441.photobucket.com/al...0Theft_zpsvsbqim0l.mp4.
And lastly, I’ve been to the Long Beach Expo over 50 times (which accumulatively is more than half a year!) and this is the first time I’ve eaten at George’s Greek Cafe. I went with a group of nine other dealers, all of whom like Greek food. I personally do not and thus I ordered a cheeseburger. Let me tell you, that was a damn fine burger! The fries with oregano sprinkled over them were amazing, too. I will definitely be going back. Shameful perhaps that I’m ordering burgers at a Greek restaurant, but I like what I like.
Here's this week's question:
What is the smallest coin struck by the U.S. Mint? (Bonus points for not using the Google.)
Send your guess to info@northeastcoin.com. We now have a winner for this question.
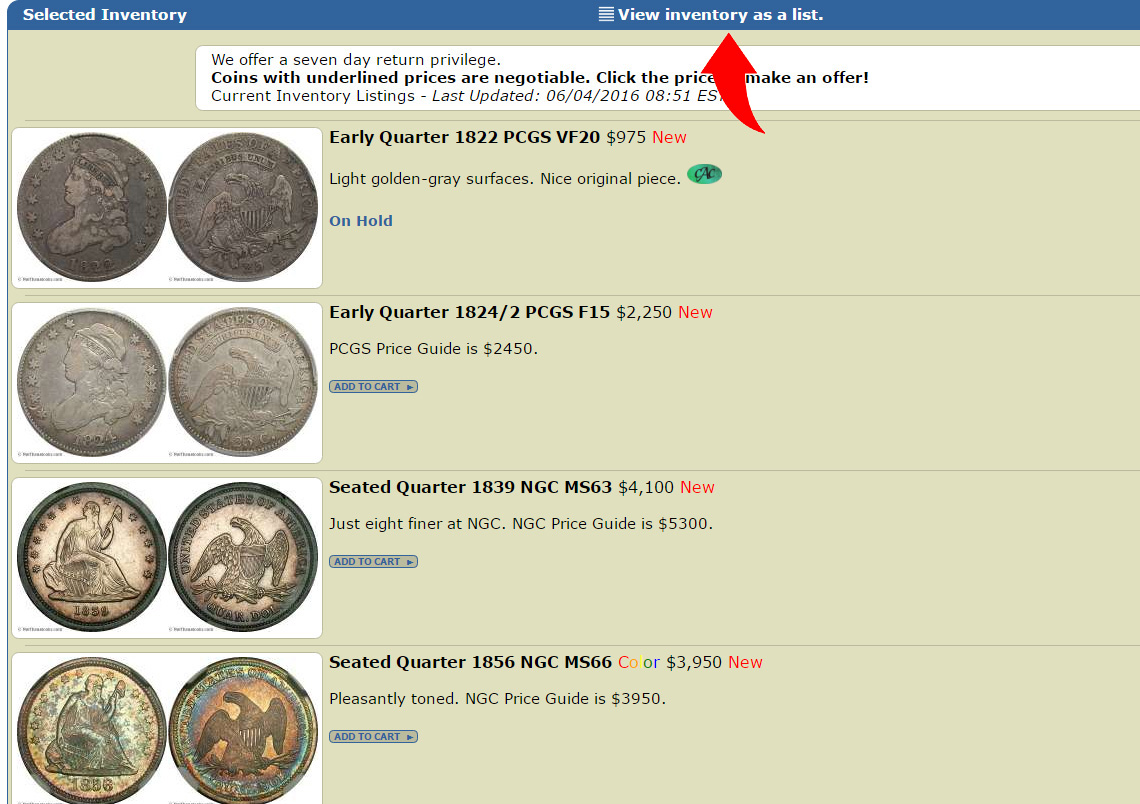
Preview images are now available for our entire inventory! If you prefer the previous format without the thumbnails, just click on the option at the top of the screen to revert back.